Lab Prep
Lab Tasks – Confirmation and Preparation
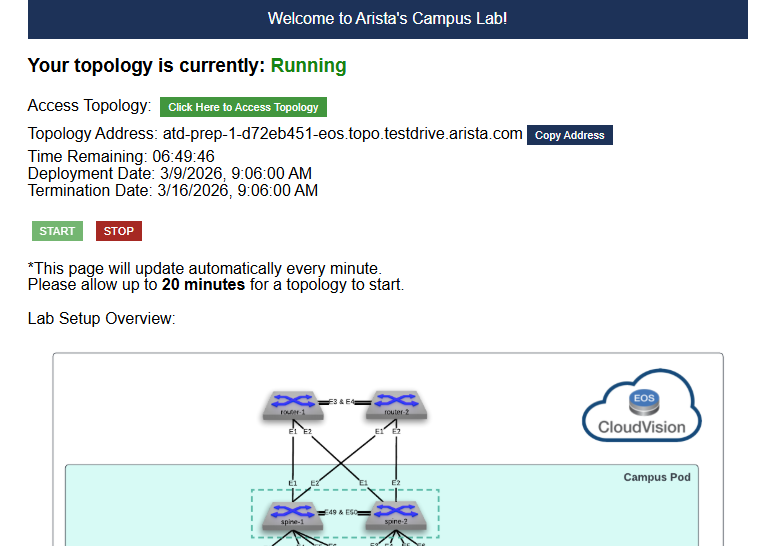
Before we dive into the configurations, we need to do some basic housekeeping. First, check your topology status—if it’s not currently Running, go ahead and hit Start. It will take 15-20 minutes for the lab to set up and CVaaS to start.
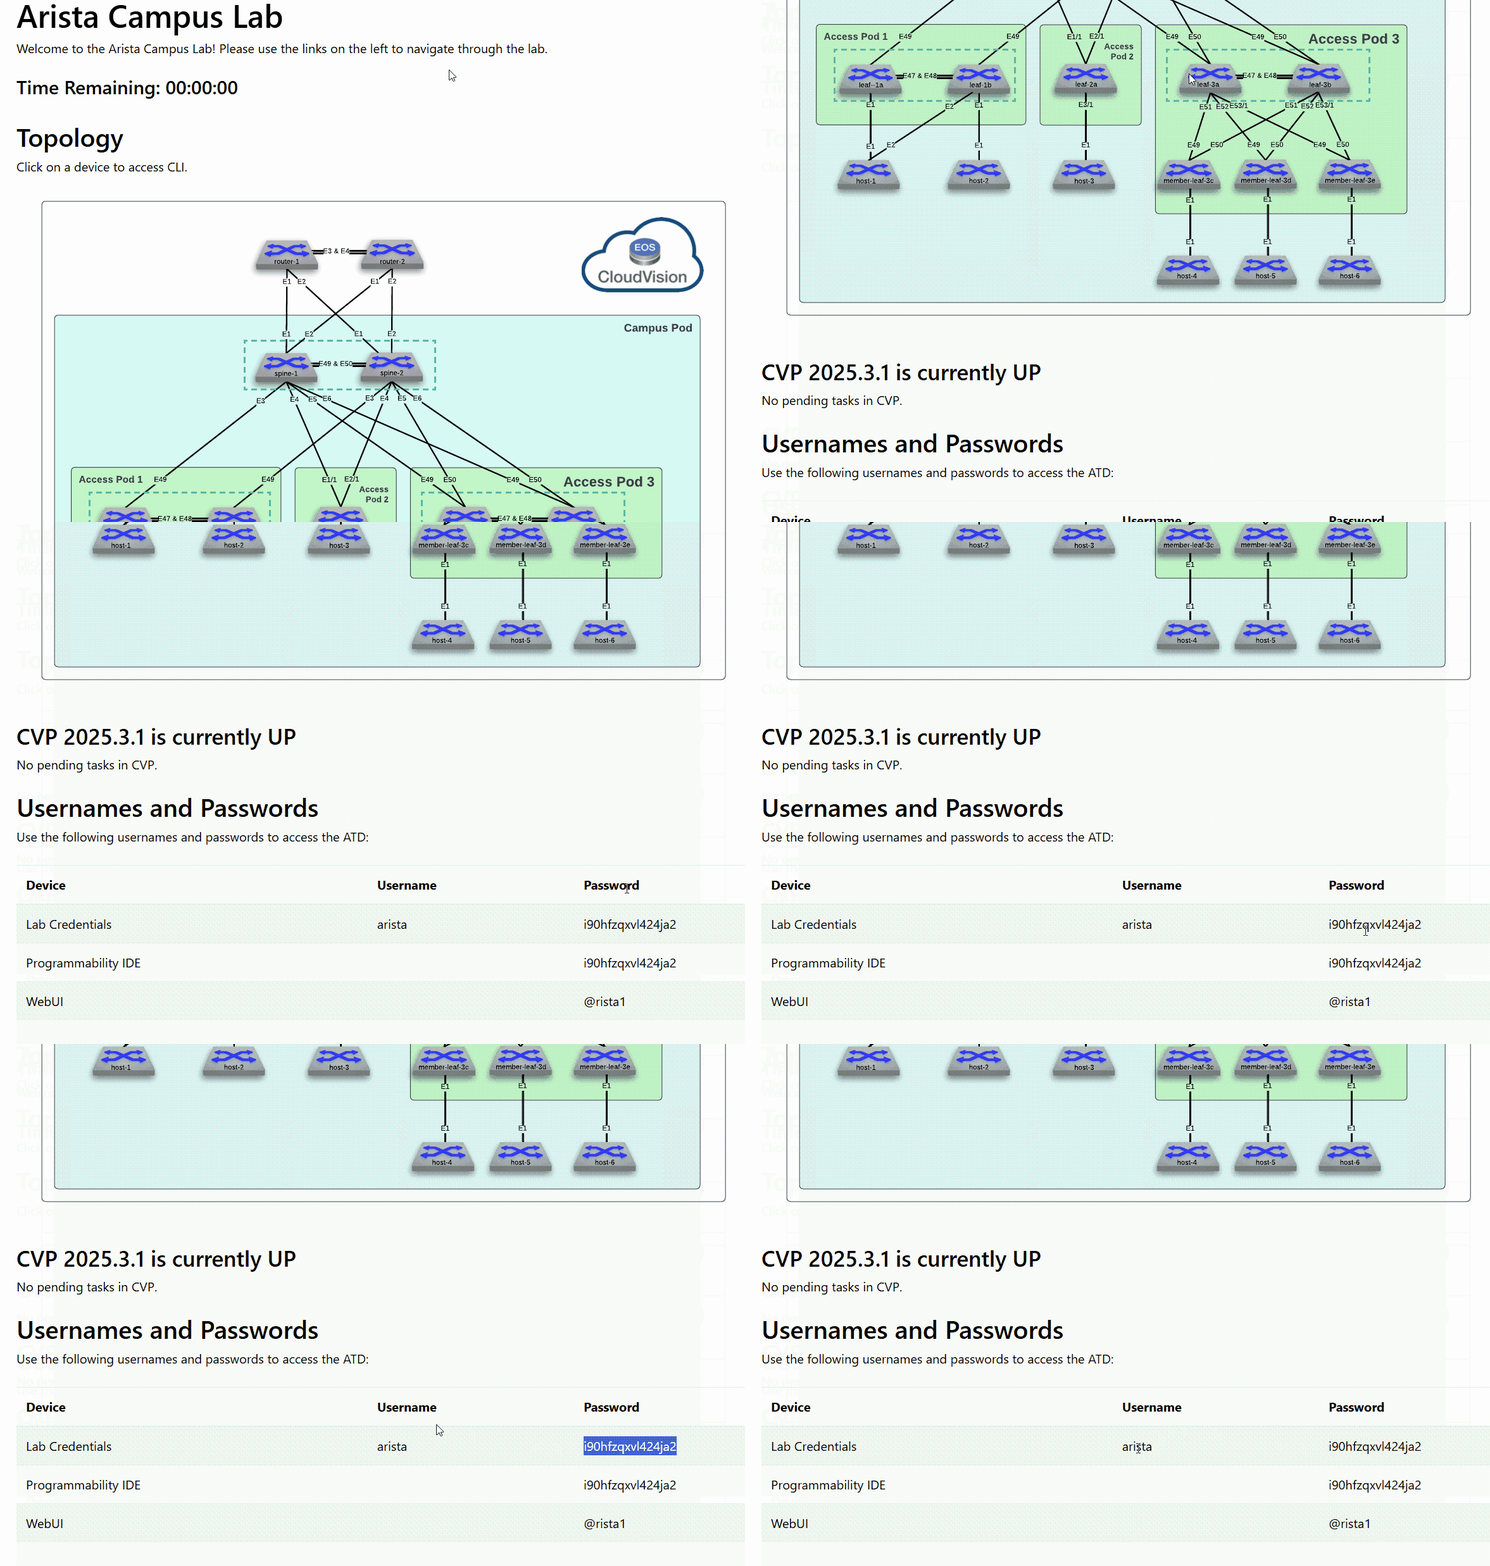
While that’s spinning up, look for your unique password at the bottom of the topology screen. You’ll use the username arista for everything in this lab, but that password is your specific key to these virtual devices.
-
Confirm your topology is currently Running, if not, click Start.
-
Click the Click Here to Access Topology button.
-
Scroll down. Locate and copy your unique password. Note The Username is always arista*.
Lab Tasks - Reset the virtual environment
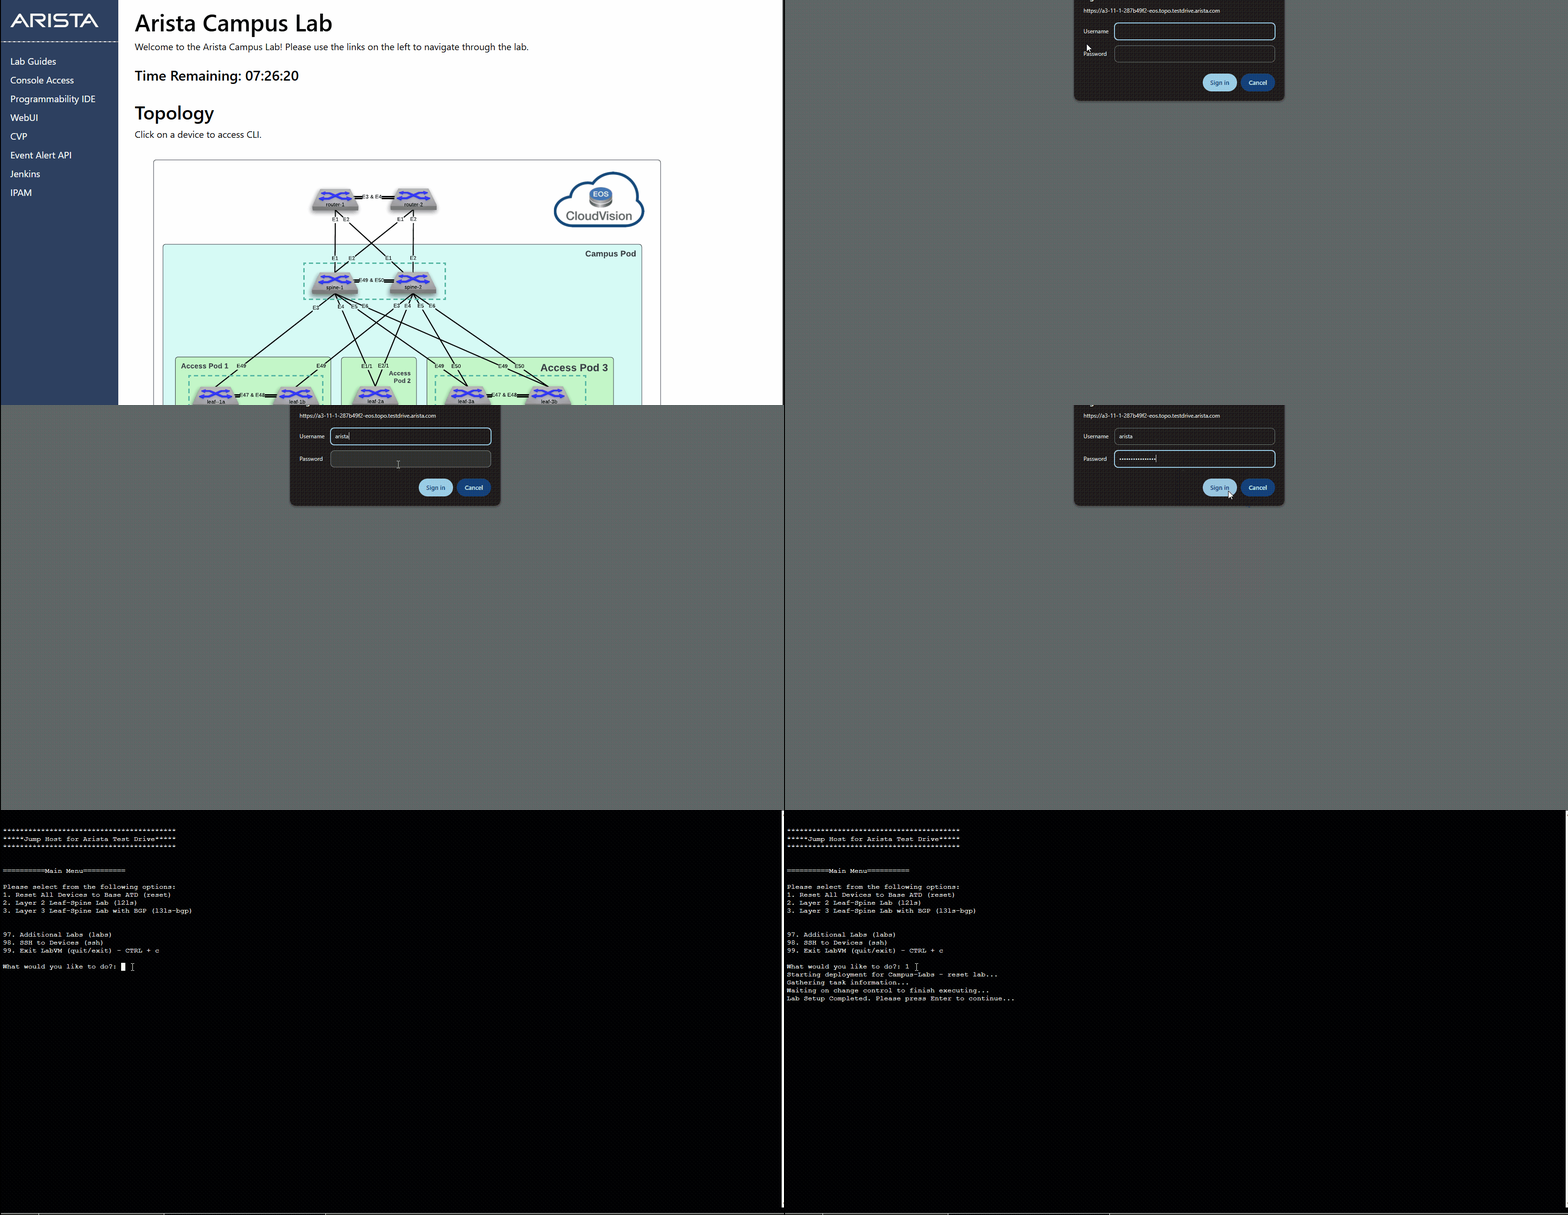
Head over to Console Access in the blue side panel and log in. We’re going to select option ‘1’ to Reset All Devices to Base ATD. This is our 'undo' button—it wipes any previous configurations and brings the network back to its factory-fresh lab state. Hang tight while the script runs; once it’s done, you’re ready to enter the management plane.
-
Select Console Access from the blue side panel.
-
Login with username arista and paste your copied password.
-
Enter ‘1’ at the prompt to Reset All Devices to Base ATD.
-
Wait for the process to finish, hit the Enter key to exit.
Lab Tasks - Login to CloudVision
Now that the switches are ready, return to your lab tab and click that CloudVision icon. Use the same arista username and that unique password you copied earlier to log in. Return to the Arista Campus Lab browser tab.
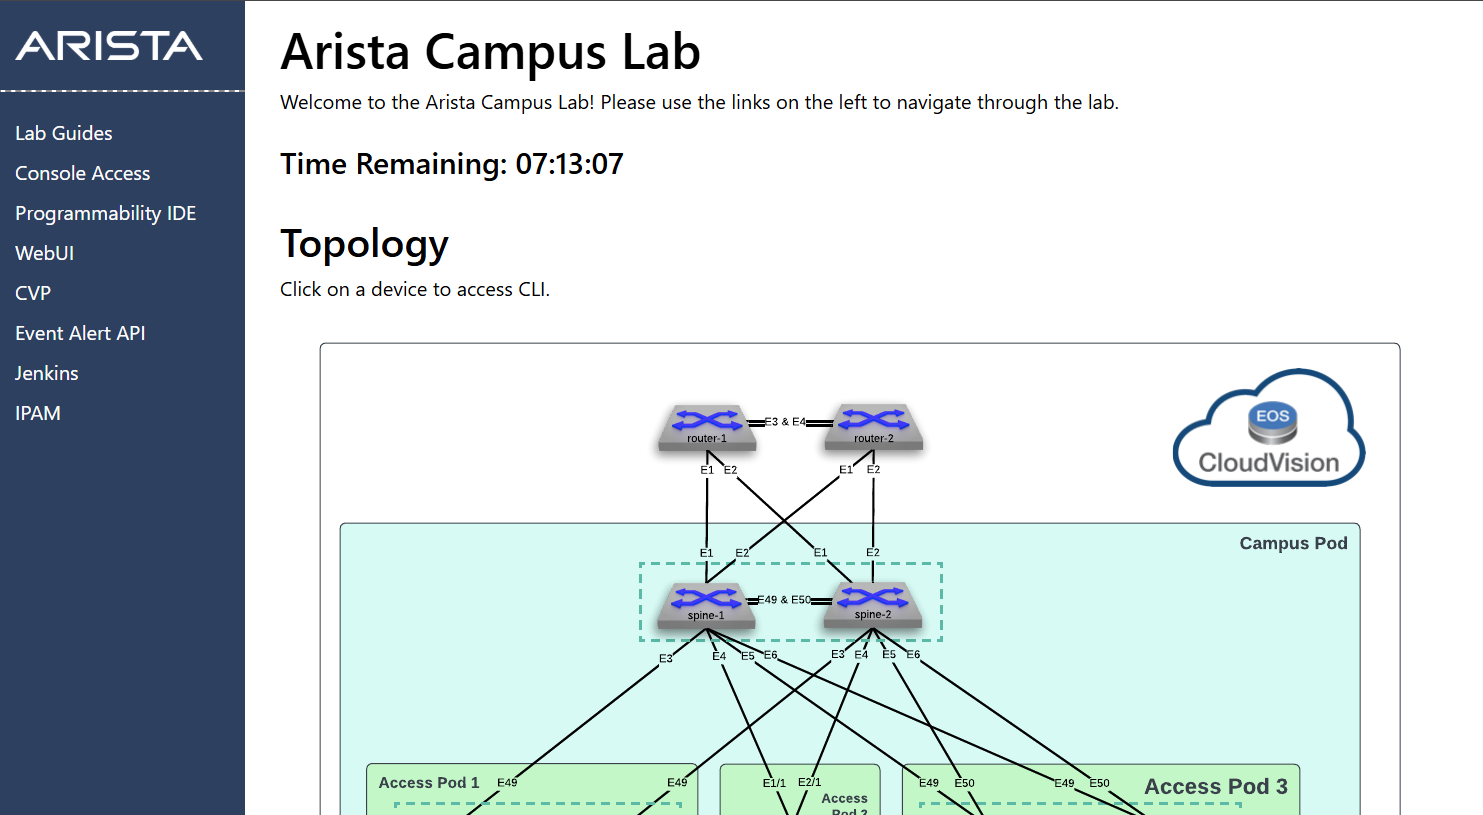
- Click the CloudVision icon, then login using arista and your password.
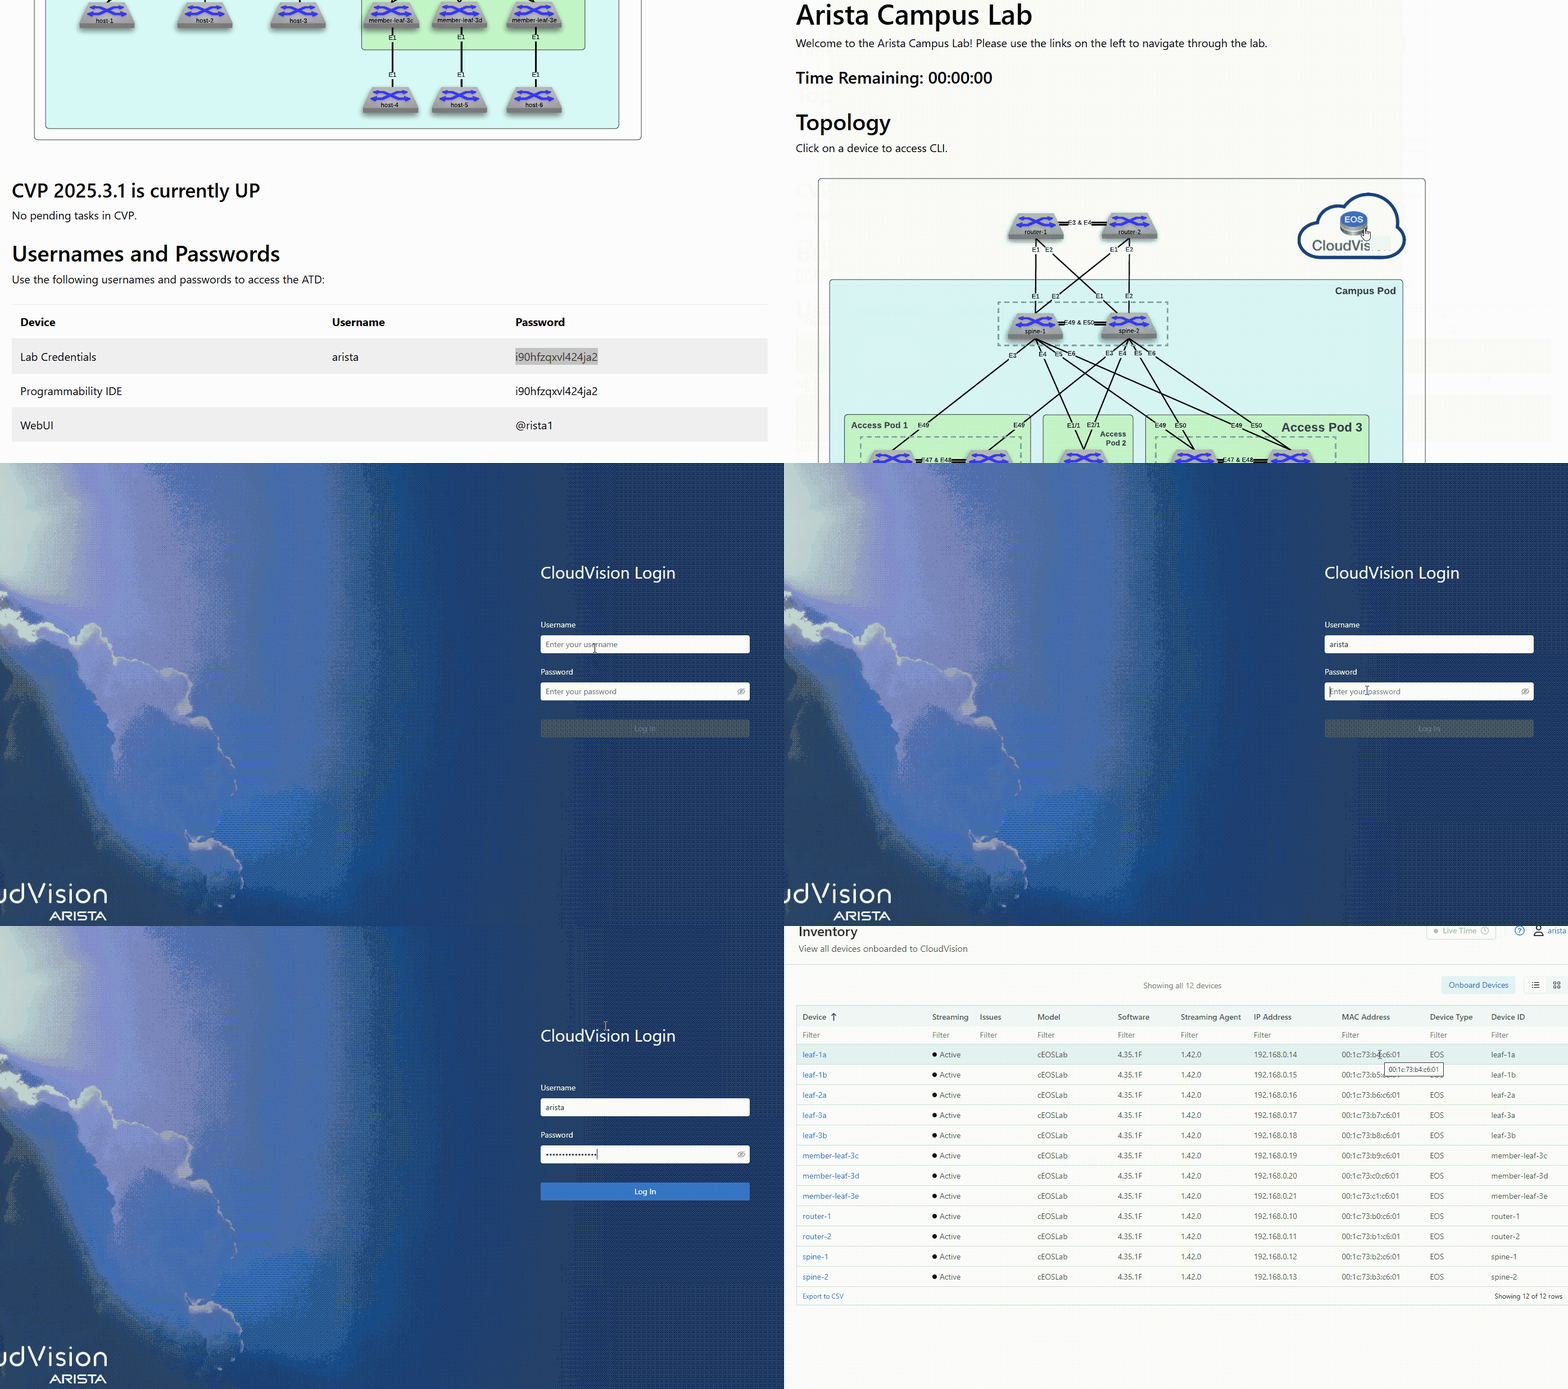
| Device | Username | Password |
|---|---|---|
| Lab Credentials | arista | i90hfzqxvI424ja2 |
| Programmability IDE | i90hfzqxvI424ja2 | |
| WebUI | @rista1 |
Lab Tasks - Set CVaaS Features
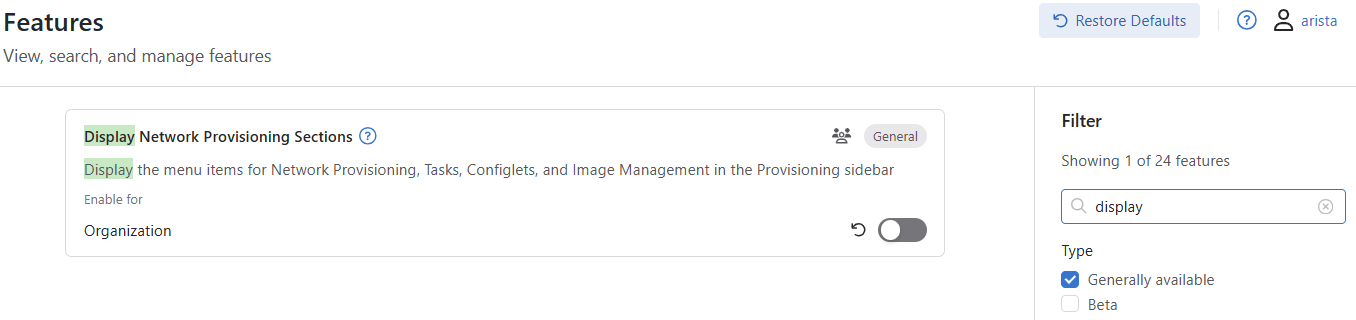
We are turning ON the Workspace Island—that’s the floating bar that manages our drafts—and the Campus Beta Features, which unlock the specific automation Studios we’ll be using. We’re also enabling the Timepicker for telemetry functions. Finally, we’re turning OFF the Display Network Provisioning Sections. This hides the legacy 'Configlet' menus to keep our sidebar clean and focused only on the modern Studio workflow we’re here to master.
-
Click the Gear icon (Settings) in the bottom-left corner.
-
Click on Features from the white Settings panel on the left.
-
Use the search box or scroll to adjust the following toggles:
- ON: Workspace Island
- ON: Campus Beta Features
- ON: Timepicker
- ON: Upload and Download Images and Extensions
- OFF: Display Network Provisioning Sections
-
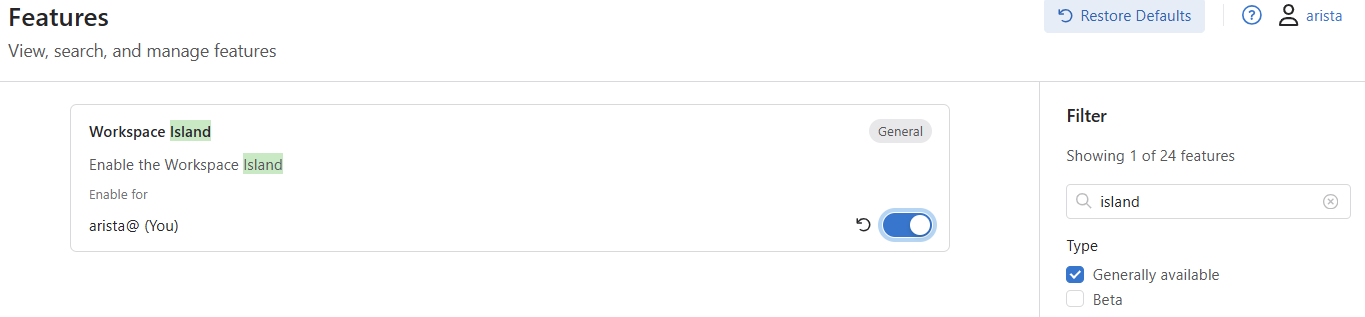
Turn on: Workspace Island
-
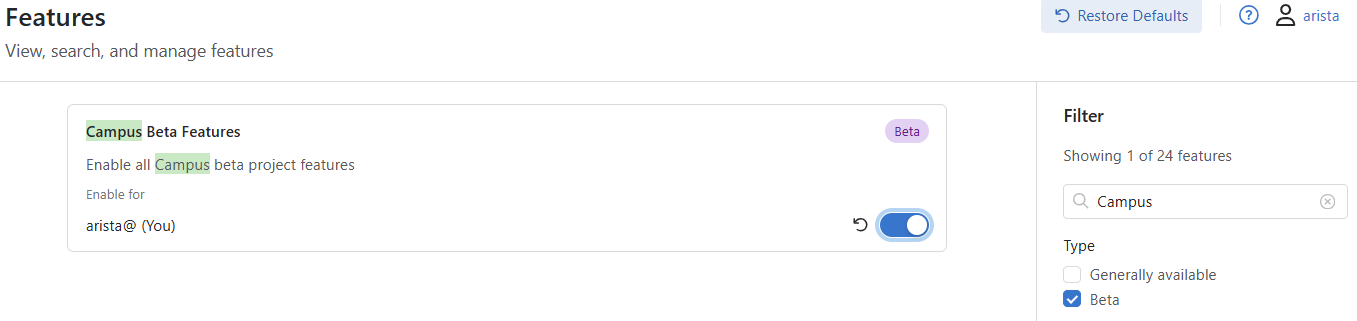
Turn on: Campus Beta Features
-
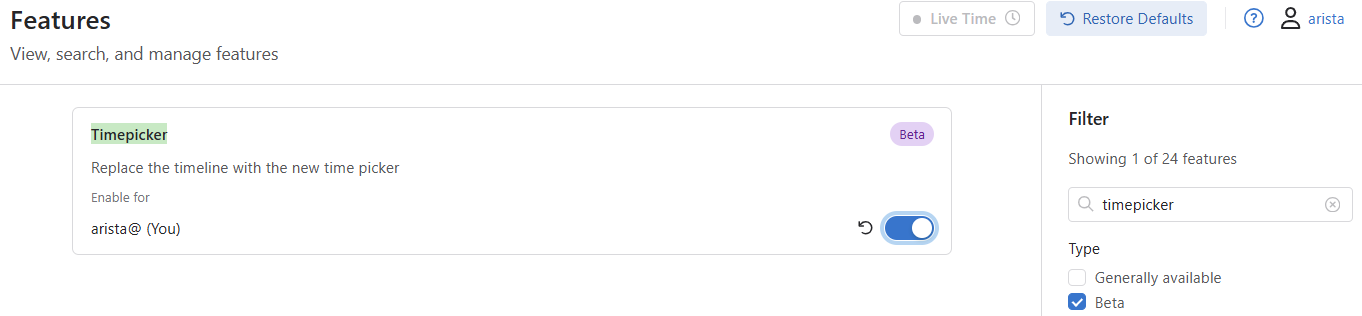
Turn on: Timepicker.
-
Turn off: Display Network Provisioning Sections
-
Click Disable to continue.
Environment preparation is complete. You are ready for the next lab.