pyeapi
In this lab we will still use Python, but this time with Arista’s pyeapi module. If you recall from the last lab, a module is a way of enhancing the capability of native Python.
Pyeapi is a wrapper around eAPI that abstracts common EOS commands into a more programmatic style. This allows someone without a heavy network background to easily interact with an Arista device. In other words, instead of issuing enable; configure; vlan 100; name foo, we can use vlans.set_name(100,'foo'). While that may look similar, the abstracted way is easier to implement in Python because it shortcuts some of the steps, and someone that only knows they need to create a VLAN can provision it without having to know the EOS command line.
Click here for pyeapi documentation.
Note
While Arista switches have a fully functional Python installation, please make sure to use the VSCode IDE for the scripting part of this lab.
Script Overview
For this pyeapi script, we are going to add a new user called testuser.
#!/usr/bin/env python3

import pyeapi

node = pyeapi.connect(host='192.168.0.12',username='arista',password='arista8kw3',return_node=True)

users = node.api('users')

users.create('testuser',secret='foo')
users.set_privilege('testuser',value='15')
users.set_role('testuser',value='network-admin')
Let’s break down the script into individual pieces:
import pyeapi - This imports the pyeapi module.
node = pyeapi.connect(host=’192.168.0.12’,username=’arista’,password=’arista8kw3’,return_node=True) - Instantiates the variable node, and uses pyeapi to create a connection to the switch using the username of arista and the password arista8kw3. return_node allows you to use the node object to consume the API with.
Warning
Make sure you replace the password field with the password from your ATD environment dashboard or the API call will fail.
users = node.api(‘users’) - Creates a new variable users and specifies the API submodule users. This tells Python we want to create a user using pyeapi.
users.create(‘testuser’,secret=’foo’) - Using the Users API, we use the create method, testuser is the username, and the password is foo.
users.set_privilege(‘testuser’,value=’15’) - Using the Users API, we use the set_privilege method, testuser is the username which was created in the last step, and the privilege level is 15.
users.set_role(‘testuser’,value=’network-admin’) - Using the Users API, we use the set_role method, testuser is the username which was created in the last step, and the Arista role is the predefined default role of network-admin.
Lab Tasks
Similar to the eAPI lab, this lab work will be done within the VSCode IDE.
Connect to the Programmability IDE. If prompted for a password, enter in your lab password from the ATD dashboard.
-
To start writing our first script, click on
File -> New Fileto open a new file. Then start typing in the code from above.Tip
Alternatively, you can copy and paste it right into VS Code by using
Ctrl+von Windows – or –Cmd+von MAC.Once done, save the file to your project/labfiles directory.
-
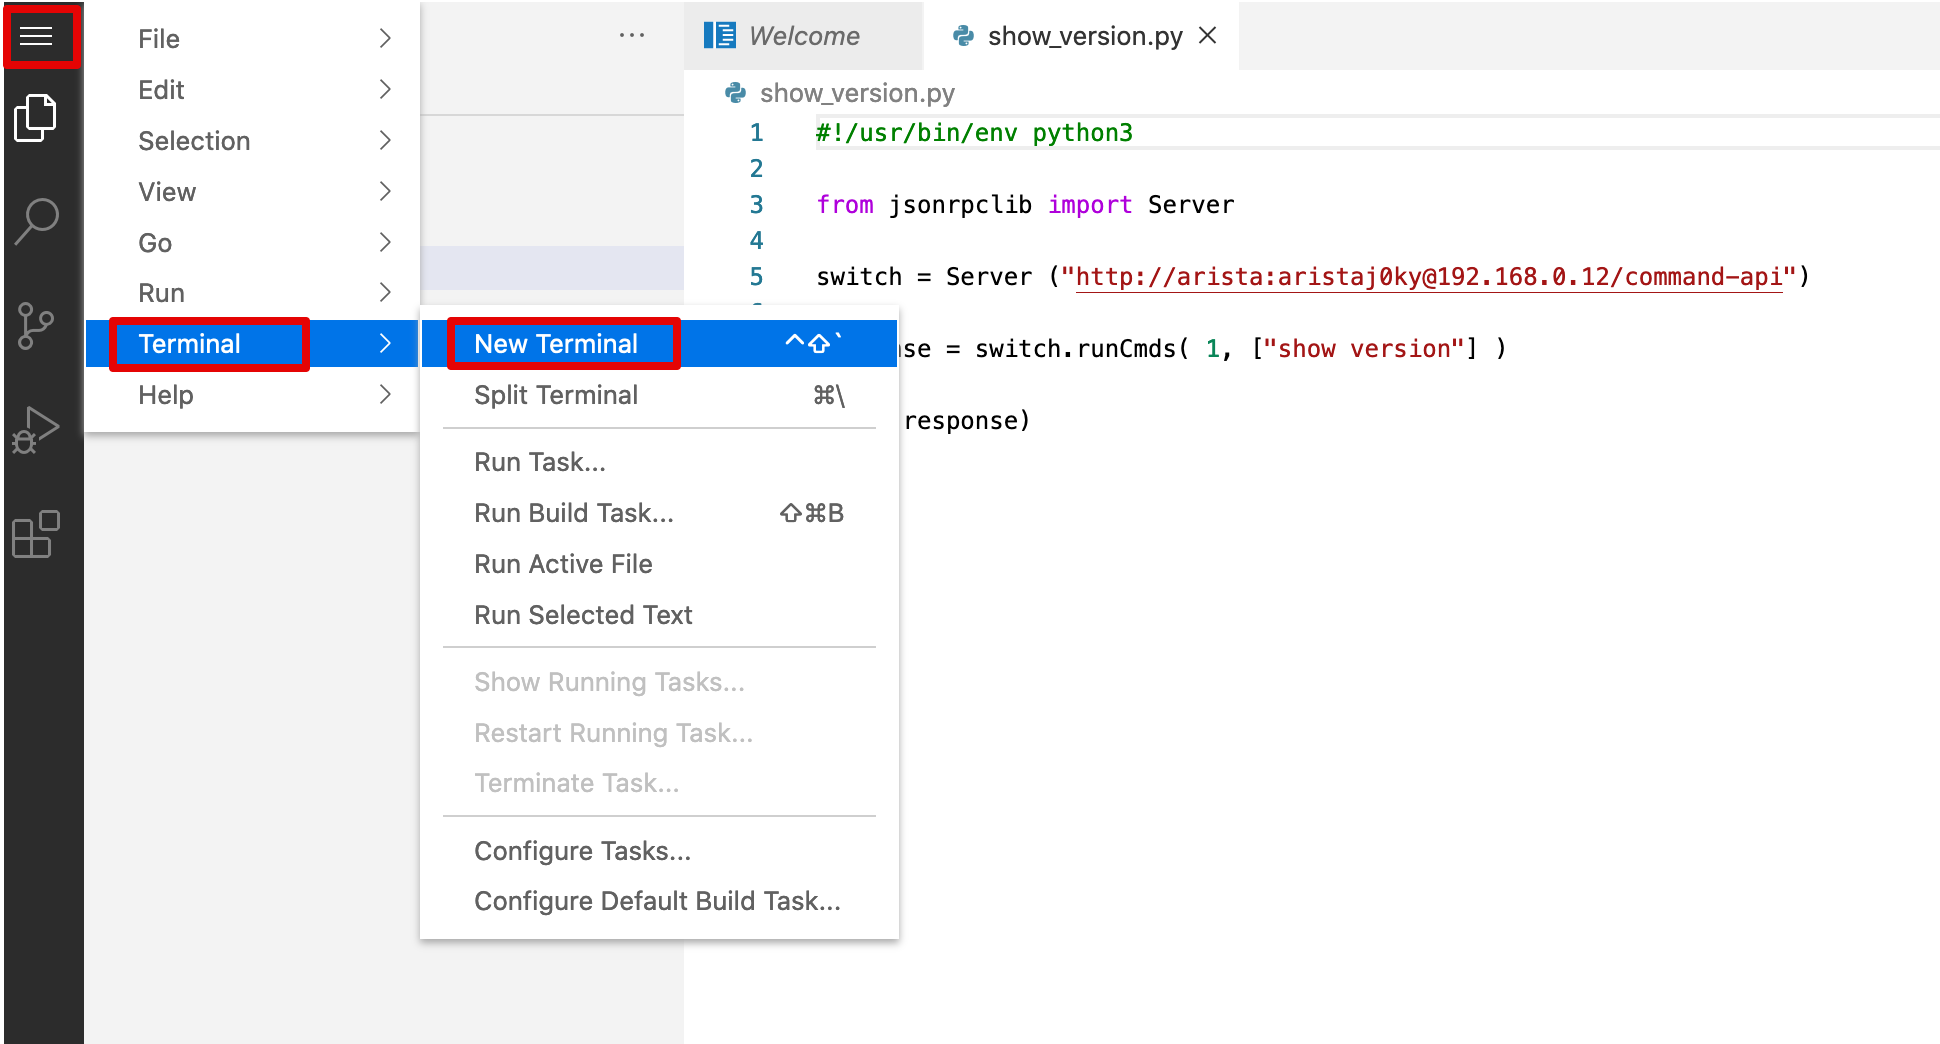
Now, let’s run our script. Within the IDE, you can use any of the following to open a Terminal window:
A terminal window will open. Run your script by entering:
Note
Make sure you replace
add_user.pywith the filename of the script you saved above if the name differs. -
Now we can verify our script by seeing if the user was created.
Bonus Tasks
-
Modify your existing script, or write a new one that adds more than one user.
-
Using the pyeapi documentation, create a new script that does the following:
-
Create a VLAN
-
Add it to interface
Ethernet1as a switchport access vlan.
-
Success
Lab Complete!


