Jenkins
This lab utilizes the automation tool, Jenkins, as well as Git, for version control. If you aren't familiar with Git, visit the Automation Fundamentals Workshop here to learn more.
Jenkins is an open-source automation tools with plugins for building, deploying, and automating almost anything.
Git Commands
This lab makes use of a handful of git commands, which are described below.
git init: Initializes an empty git repository
git add: Adds files to the local git repository
git commit: Commits the git repository
git remote add origin: Adds a remote repository to commit to
git push: Pushes code to the repository
git reflog: The git reflog command lists every commit, their checksum, their distance from the current commit, and the commit message.
git revert: Reverts the local repository to a previous commit
Lab Tasks
These lab tasks revolve around automating the task of adding a VLAN to a fabric.
-
Create the hosts file.
-
Let’s start out with a different-looking hosts file, this time with every one of your leaf switches in it. Take special note of leafs, we’ll be using this later.
-
Save the file with the name hosts into the
/home/coder/project/labfiles/lab6/labdirectory.Note
You will notice that there are existing files and folders. Please don’t overwrite anything for this lab.
-
-
For this playbook we are going to call a pre-created role that is provided by Arista. In this case, we’ll be using the
arista.eos.eos_vlansmodule from thearista.eosAnsible Collection to add VLANs.-
In the VSCode IDE, create the file below.
-
Save the file with the name vlan.yml into the
/home/coder/project/labfiles/lab6/labdirectory.
-
-
For this lab we will be using what is called group variables or group_vars. Group variables are used for groups of hosts and not individual hosts.
Tip
For more information about Ansible, check out the Ansible section of the Automation Fundamentals Workshop here
-
When we create a group variable file named leafs.yml, Ansible will use it for the hosts listed below
leafs.-
Notice that we’re using the Ansible Collections methodology and approach for this lab.
-
vlans, vlan_id, and name are what the
arista.eos.eos_vlanscollections module take as an input. If you want to see every module and variable that the collection can use, see the readme for the role. -
In the IDE, and create the file below.
-
Save the file with the name leafs.yml into the
/home/coder/project/labfiles/lab6/lab/group_varsdirectory.
-
-
-
Now we will perform tasks within Jenkins.
-
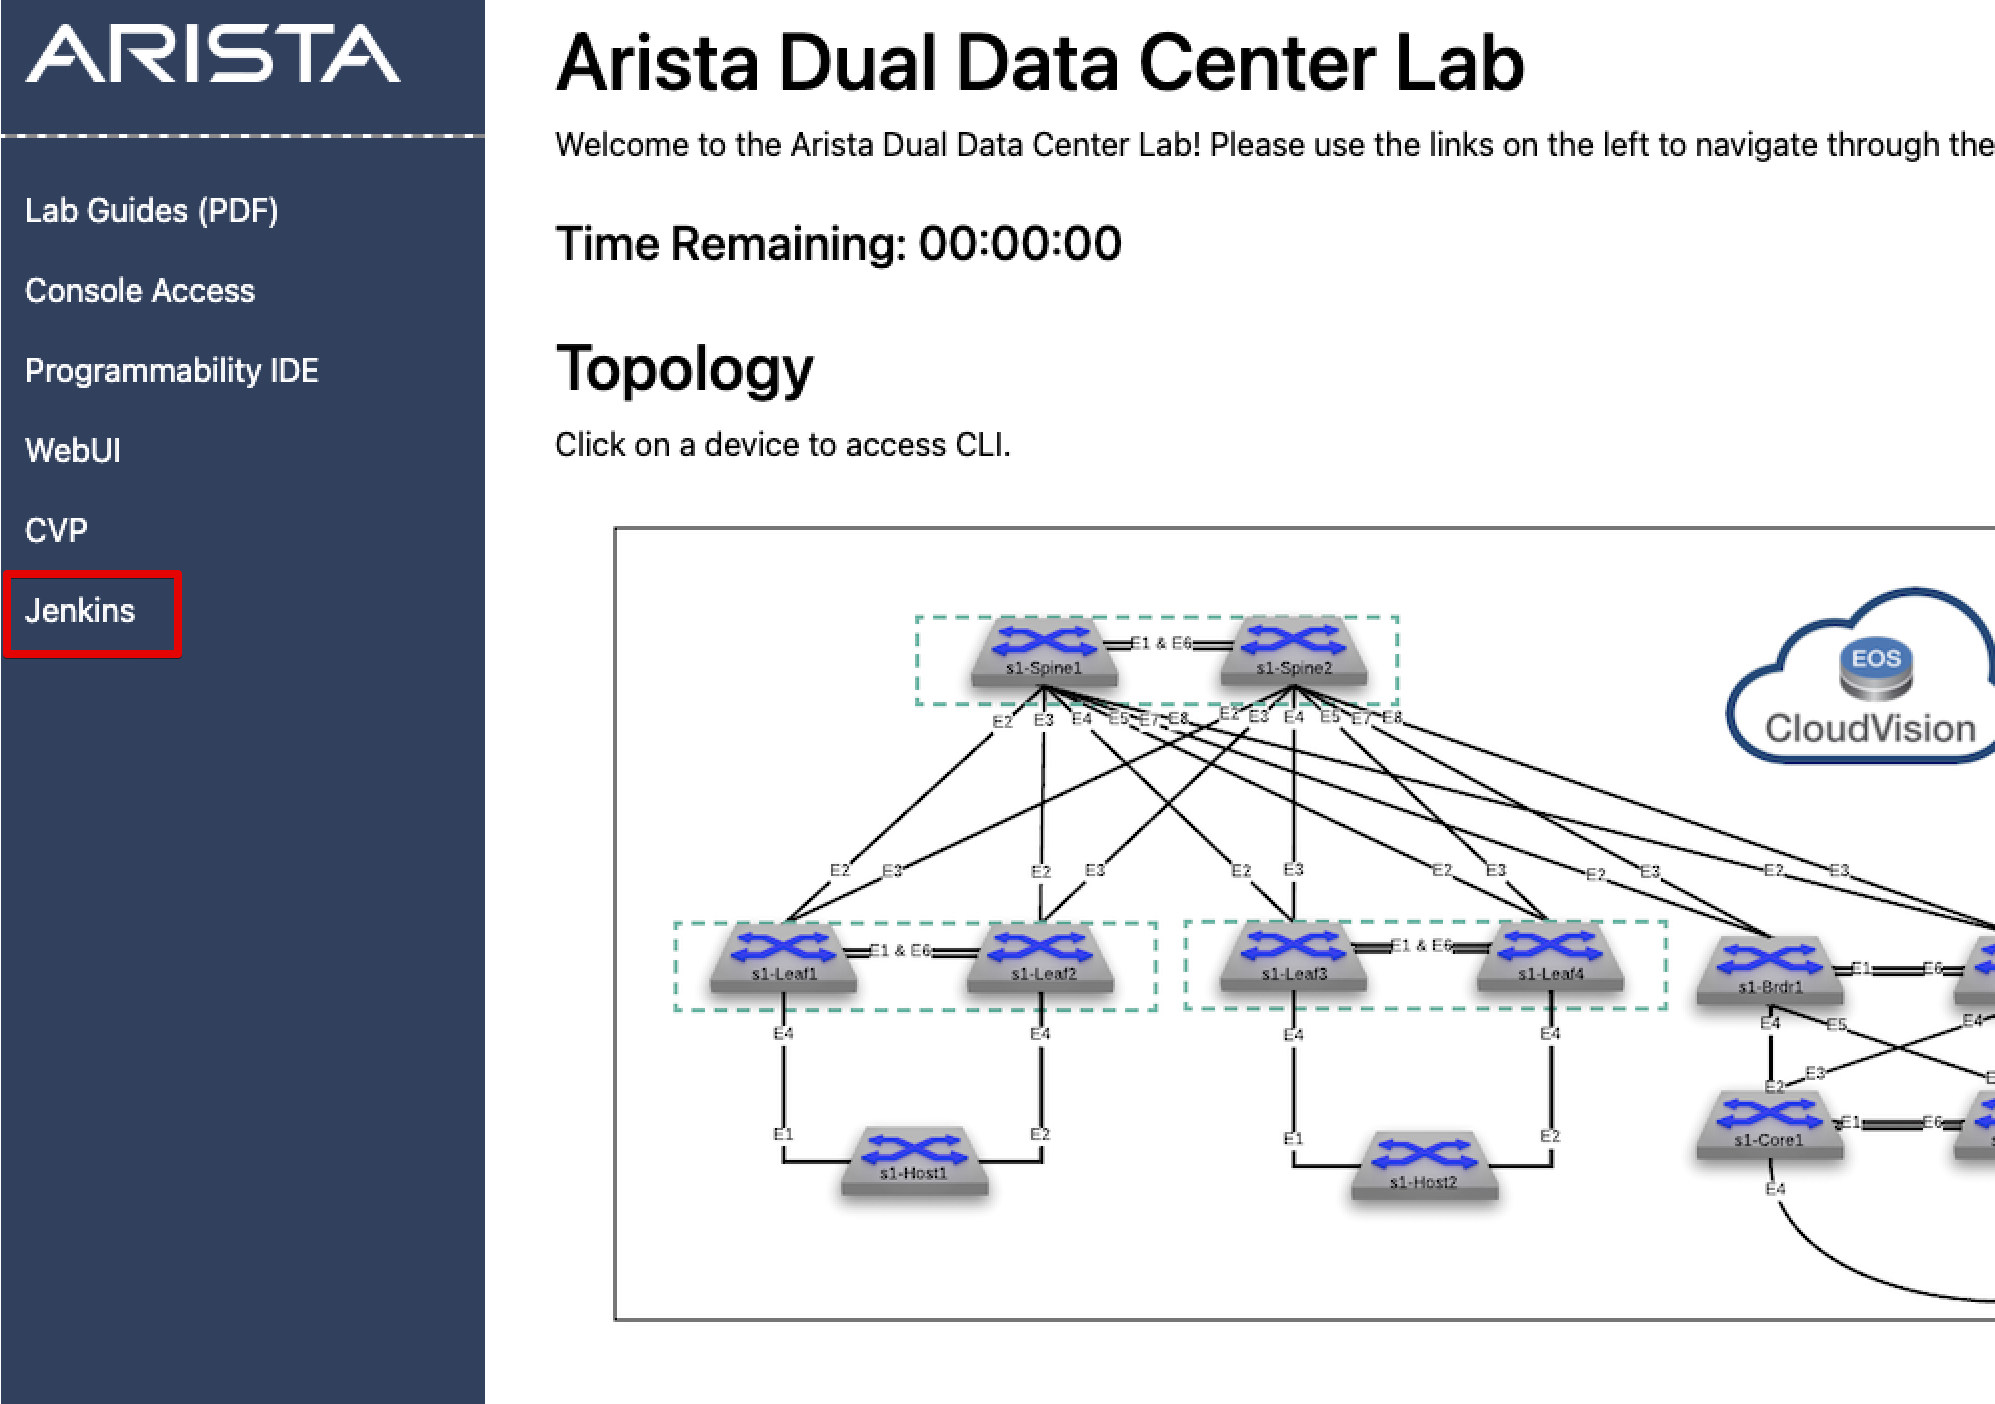
Back on the ATD landing page, click on the Jenkins link on the lefthand side.
-
Once Jenkins has loaded, click on the Login link to log in with your credentials from the landing page.
-
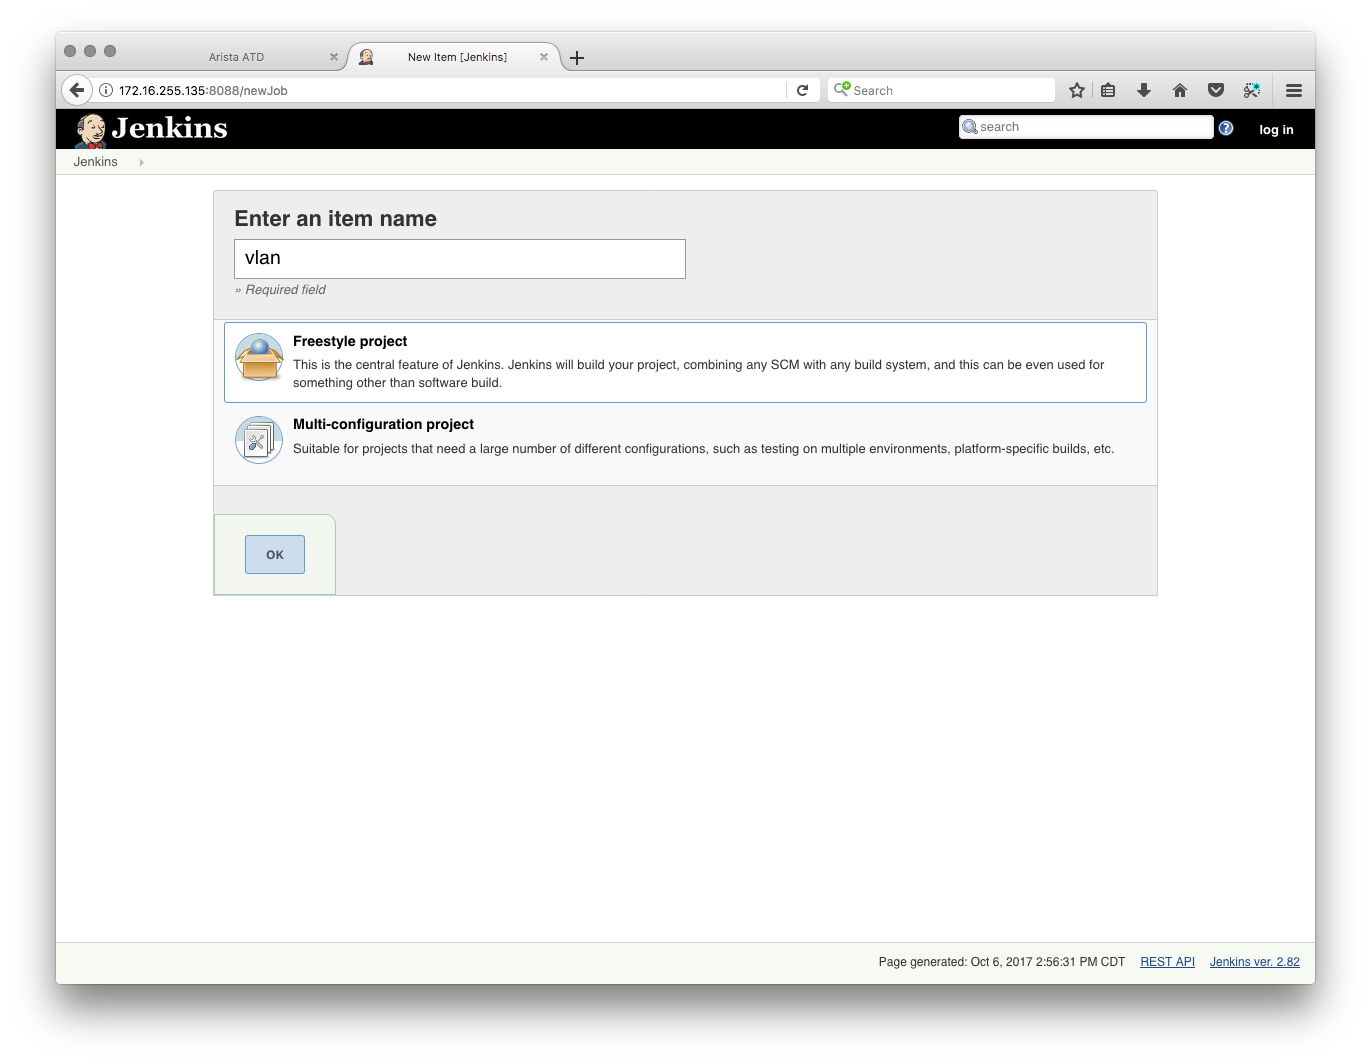
Jenkins will open in a new tab. Click on New Item in the top left of the window.
-
You will be greeted with a screen like the one below. Enter
vlanas the name and select Freestyle project. -
Click Ok.
-
Under
Source Code Management, check Git and enter /opt/labfiles/lab6/repoin the Repository URL field.Note
You will see a warning, ignore it for now.
-
Scroll down to
Build Triggers, and check Poll SCM. Poll SCM will poll for changes in Git and trigger a build from it.Note
This is a crucial aspect of continuous delivery - once a change is made, this is the part that deploys it.
-
In the
Schedulefield, enter:If you are familiar with Linux cron, this is the same format - it’s telling Jenkins to check every 1 minute for a change.
-
Scroll down to
Buildand click on Add build step. Select Invoke Ansible Playbook.-
For
Playbook Path, enter vlan.yml. -
Select
Fileorhost listand enter in hosts.
-
-
Click Save.
-
-
We have to commit our changes into a Git repository for Jenkins to detect a change and run our playbook. Let’s go back to our IDE and run a few commands for our initial commit.
-
Open a terminal window and type.
-
First we will need to prep our
remotegit repository. Type the following command. -
Now enter the following.
-
-
Now we will run our workflow, which at a high level looks like below.
-
Add VLANs to the variables file by opening the
leafs.ymlfile in the IDE and adding lines below the existing text. -
Save the file.
-
Add the file to Git via a commit and push the changes.
-
In the terminal window, switch to the lab directory:
-
Enter the following:
-
Go back to the Jenkins window.
-
-
Verification
Now that we are back in Jenkins we will see a few different things.
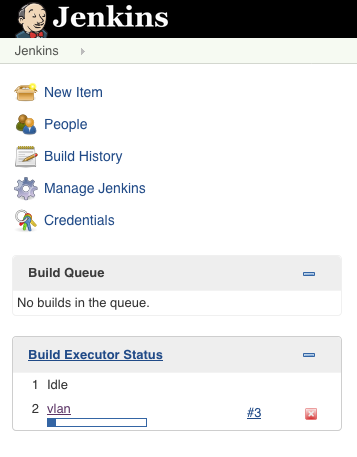
If we got back in time, we can see our vlan project executing under the Build Executor Status.
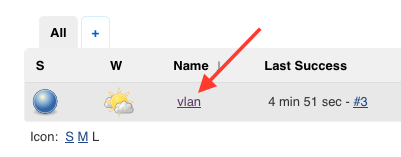
If you don't see the vlan build running, Jenkins keeps a history we can check to see if the execution was successful.
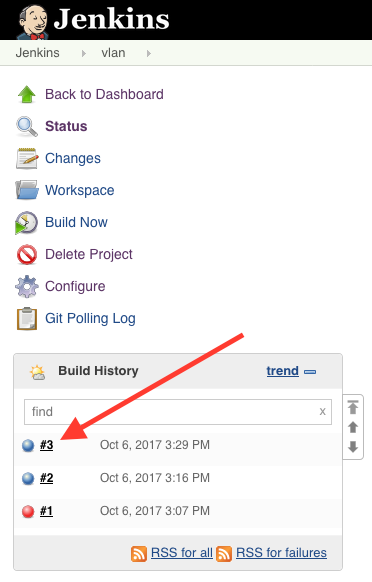
From the main screen, click on vlan.
On the left hand side, click on the latest build which should be #3, but could be a higher or lower number.
In the left hand menu, click Console Output. Scroll all the way to the bottom to hopefully see:
PLAY RECAP *********************************************************************
192.168.0.12               : ok=7    changed=1    unreachable=0    failed=0    skipped=2    rescued=0    ignored=0
192.168.0.13               : ok=7    changed=1    unreachable=0    failed=0    skipped=2    rescued=0    ignored=0
192.168.0.14               : ok=7    changed=1    unreachable=0    failed=0    skipped=2    rescued=0    ignored=0
192.168.0.15               : ok=7    changed=1    unreachable=0    failed=0    skipped=2    rescued=0    ignored=0
Finally, we can log into one of the above leaf switches and verify the vlans are there.
Success
Lab Complete!
