CloudVision Studios - Static Configuration Studio Migration Lab Guide
Goal
The goal of this lab is to introduce users to Static Configuration Studio in CloudVision as an alternative workflow to traditional network provisioning.
The Static Configuration Studio introduces a tag-based, structured approach to configuration management using a containerized design to simplify device groupings and configlet inheritance.
In this lab, users will transfer configlets from traditional Network Provisioning to the Static Configuration Studio using a completed L2LS Lab to gain hands-on experience with tagging, workspaces, and container hierarchy.
Why Use Static Configuration Studio?
1. Building on What Works
Network Provisioning offers a proven way to manage configurations through containers, configlets, and change controls. It’s reliable and continues to serve many production environments today.
Static Configuration Studio builds on that foundation with a more visual, flexible, and tag-driven approach. It’s designed to simplify day-to-day configuration tasks, especially in labs or environments that benefit from quicker iterations and flexible groupings.
2. More Flexibility, Less Repetition
While traditional network provisioning links devices to a single container, Static Configuration Studio allows devices to be grouped in multiple ways using tags. This makes it easier to apply shared configurations across different parts of the network without duplication. This helps improve efficiency and reduces human error.
3. A Smoother Way to Work
With Static Configuration Studio, you can manage configurations in a more visual, interactive workspace. You stay in one screen, reduce extra clicks, and clearly see how devices and configlets are connected through tags and containers.
It brings a new level of control and clarity to configuration management, helping teams move faster and stay aligned—even as environments grow more complex.
Key Definitions
-
Studios: UI-driven provisioning tool that simplifies network configuration without requiring CLI expertise. Each studio acts as a template for defining network features and managing devices. Studios operate within workspaces, allowing multiple configurations to be tracked and submitted efficiently.
-
Workspaces: Staging areas for drafting, validating, and submitting changes in Studios and Tags. Changes remain isolated until submitted for review and deployment.
-
Containers: Logical groupings that assign configlets to tagged devices in a hierarchy.
-
Tags:
Key:valuelabels used to group and identify devices. CloudVision supports user, system, and topology tags, but only user tags can be created and assigned manually. -
Configlets: Collections of CLI commands for configuration, organized for reuse and assignment.
Lab Procedure
Part 1: Preparing the Lab
-
Navigate to the Login URL sent to you via e-mail.
-
If your topology is not in the
Runningstate, click theStartbutton on the bottom left.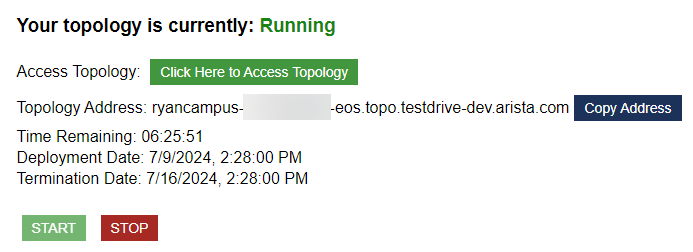
-
Click the
Click Here to Access Topologybutton. -
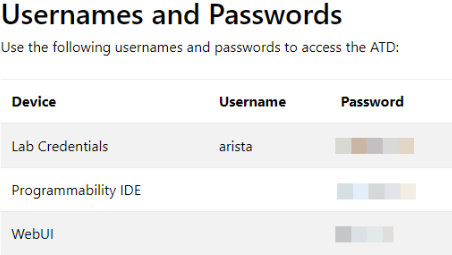
You will see a landing page and credentials at the bottom.
Part 2: Starting the Lab
Baseline Your Lab Environment
-
Click on
Console Accesson the top left of your lab menu. -
Type
l2lsor2 - run L2LS Lab.](../assets/scs_select_lab.png)
Accessing CloudVision Portal
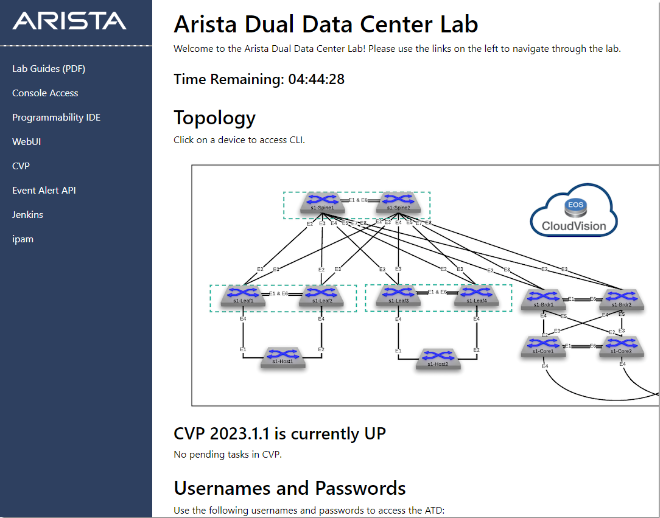
-
Click CVP on the lab landing page to access CloudVision Portal.

-
Navigate to Provisioning -> Network Provisioning.
 > Note: Notice the containers - we will recreate these in Static Configuration Studio.
 -
Navigate to Configlets
 > Note: Notice how many devices/containers are associated with each configlet.
Part 3: Inventory and Topology Studio
Set up a Workspace
-
Go to Provisioning→ Studios → Inventory & Topology Studio.
Note: Inventory & Topology Studio registers devices and updates interface and topology information for use in other Studios. Accepting network updates keeps your Studios environment in sync with your actual network.
-
Click Create Workspace, name it
Inventory and Topologyand then accept all network updates.
-
Review and then click Submit Workspace
](../assets/scs_submitI%26Tworkspace.gif)
Workspace Submission
Notice how a Change Control was not generated as part of this change. This initial task simply "on boards" devices to be managed by CloudVision Studios.
Part 4: Static Configuration Studio Setup
Create Workspace and Container Hierarchy
-
Create a new workspace named
L2LS Static Config Studio
-
Add a top-level container and include all devices.
-
Rename the container
All Devices
-
Add a sub-container and assign it with tag
Pod:S1
-
Add devices with prefix
s1toPod:S1
-
Add sub-container tagged
Role:Spineand assign spine devices
-
Delete redundant spine containers and arrange hierarchy as needed.
-
Dragging
Role:Spineto the top helps avoid redundantspinecontainers in the future.
??? note "Container Location" Containers can only be dragged to the top of the other sub-containers, or outside of its parent container.
- View the tags that were automatically applied to the devices.
Assigning Devices to Containers in Reverse
- Return to Static Configuration Studio and create a sub-container named
Role:LeafunderPod:S1. Drag it to the top of the container list if needed. Note: Container will auto-populate since devices already possessed tag
 Role:Leaf.
Note on Steps 7–8: This is the reverse order of what you did earlier with the
Role:Spinecontainer.For spines, you created the container first, then assigned devices to it by applying the tag.
Here, you are assigning the
Role:Leaftags first in Network Provisioning, then creating the container in Static Config Studio. Because the tags already exist on the devices, the container will auto-populate when it's created.
Part 5: Transferring Configlets
Transfer Configlets
Now that the container hierarchy is in place, it's time to transfer configuration logic into the Static Configuration Studio.
- Transfer Core Configlets
- Go to Network Provisioning → Configlets and copy the ATD-INFRA Configlet, and recreate a new ATD-INFRA Configlet in Static Configlet Studio's Configlet Library.
- Go to Network Provisioning → Configlets and copy the ATD-INFRA Configlet, and recreate a new ATD-INFRA Configlet in Static Configlet Studio's Configlet Library.
- Transfer BASE Configlets
- Transfer the BASE configlets for
s1-spine1ands1-spine2
- Transfer BASE s1-leaf1 configlet
- Repeat for
s1-leaf2,s1-leaf3,s1-leaf4,s1-host1,s1-host2. Transfer the BASE configlet for each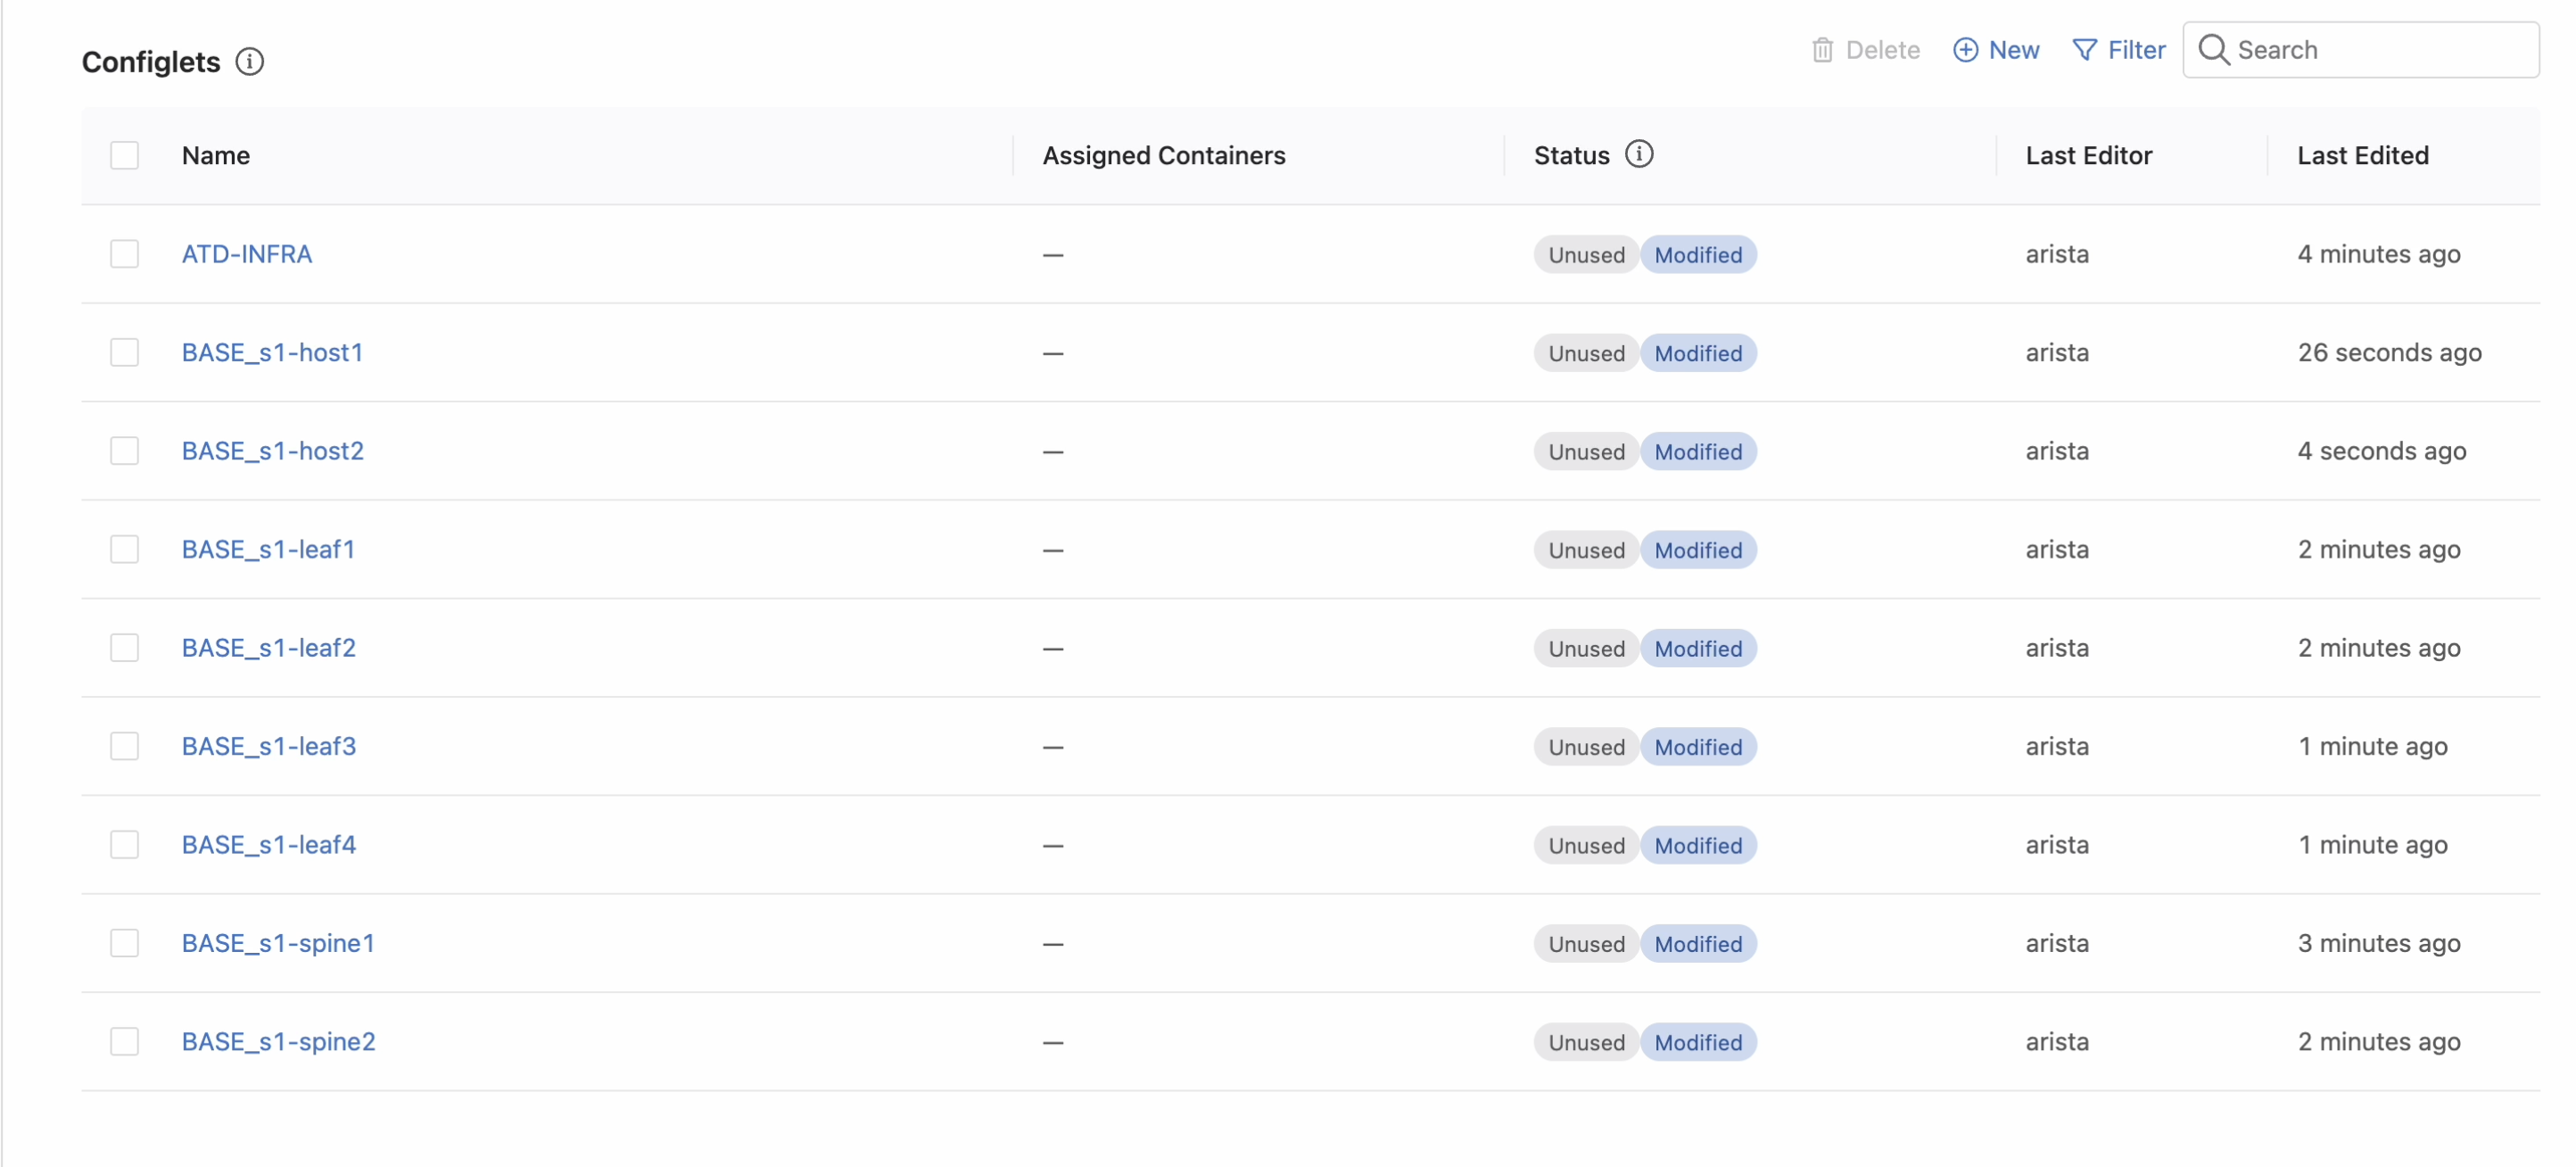
- Transfer the BASE configlets for
- Transfer L2LS Configlets
- Transfer the L2LS spine1 configlet.
- Repeat for
spine 2. - Transfer L2LS s1-leaf1 configlet.
- Repeat for
L2LS s1-leaf2,L2LS s1-leaf3,L2LS s1-leaf4,L2LS s1-spine1,L2LS s1-spine2,L2LS s1-host1,L2LS s1-host2
- Transfer the L2LS spine1 configlet.
Part 6: Apply Configlets to Containers
- Assign ATD-INFRA to All Devices
- Add ATD-INFRA configlet to top-level container.
- Add ATD-INFRA configlet to top-level container.
- Assign Device-Specific Configs
- Add Base and L2LS configlets to spine1 and spine2.
- Repeat for
s1-leaf1,2,3,4.
- Repeat for
s1-host1ands1-host2.
- Add Base and L2LS configlets to spine1 and spine2.
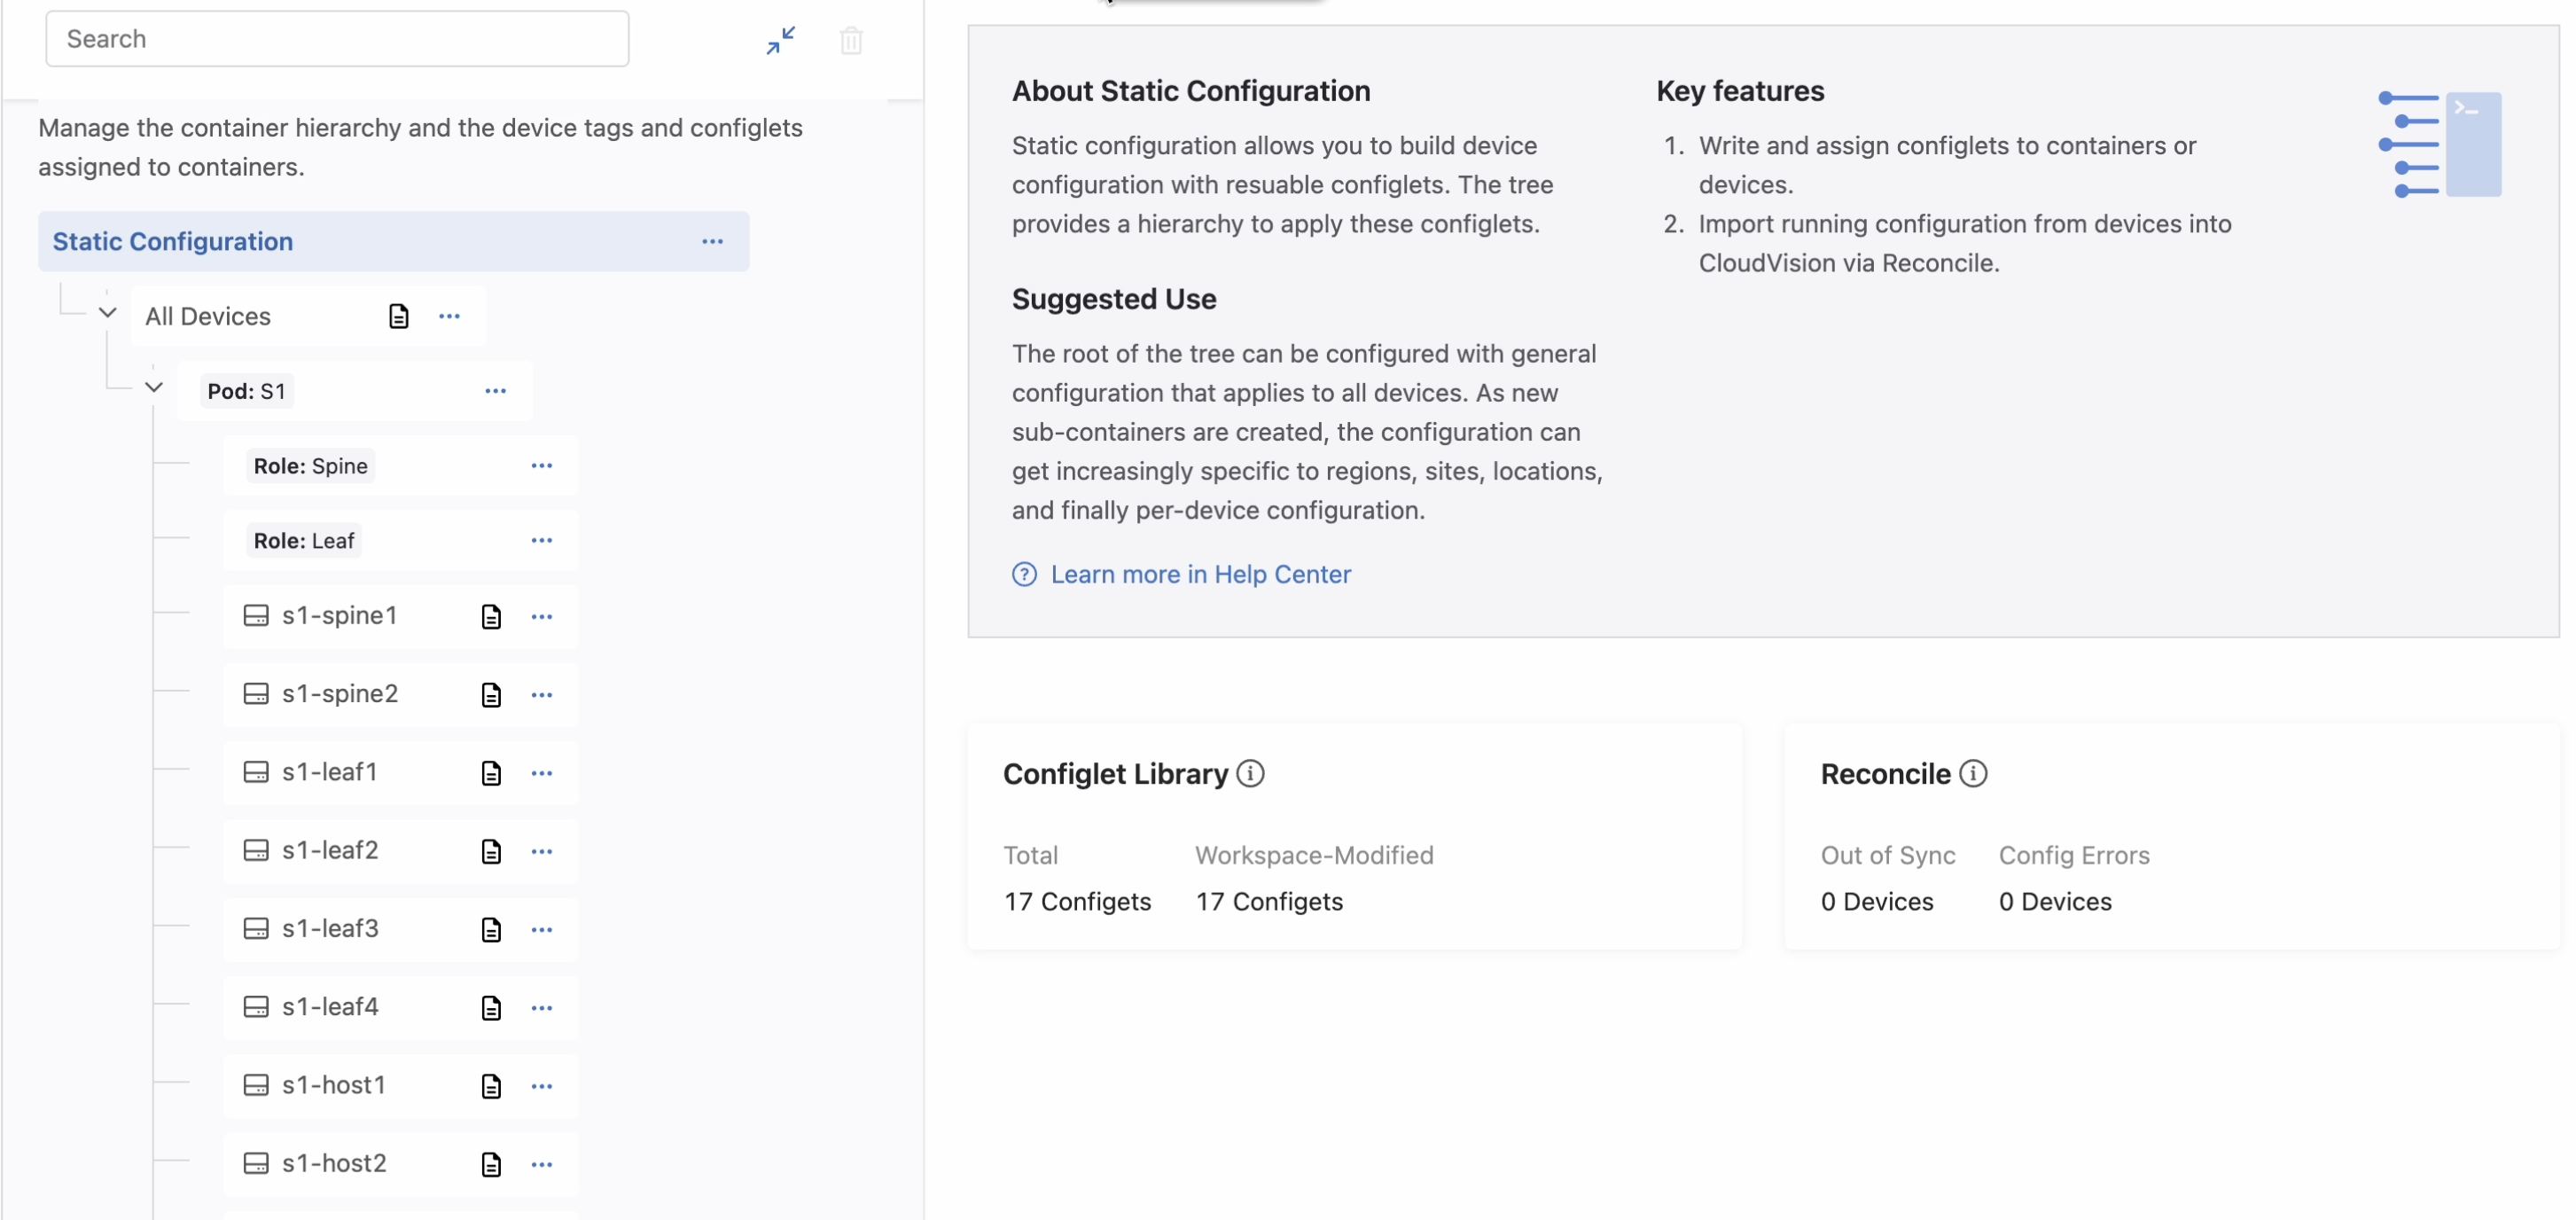
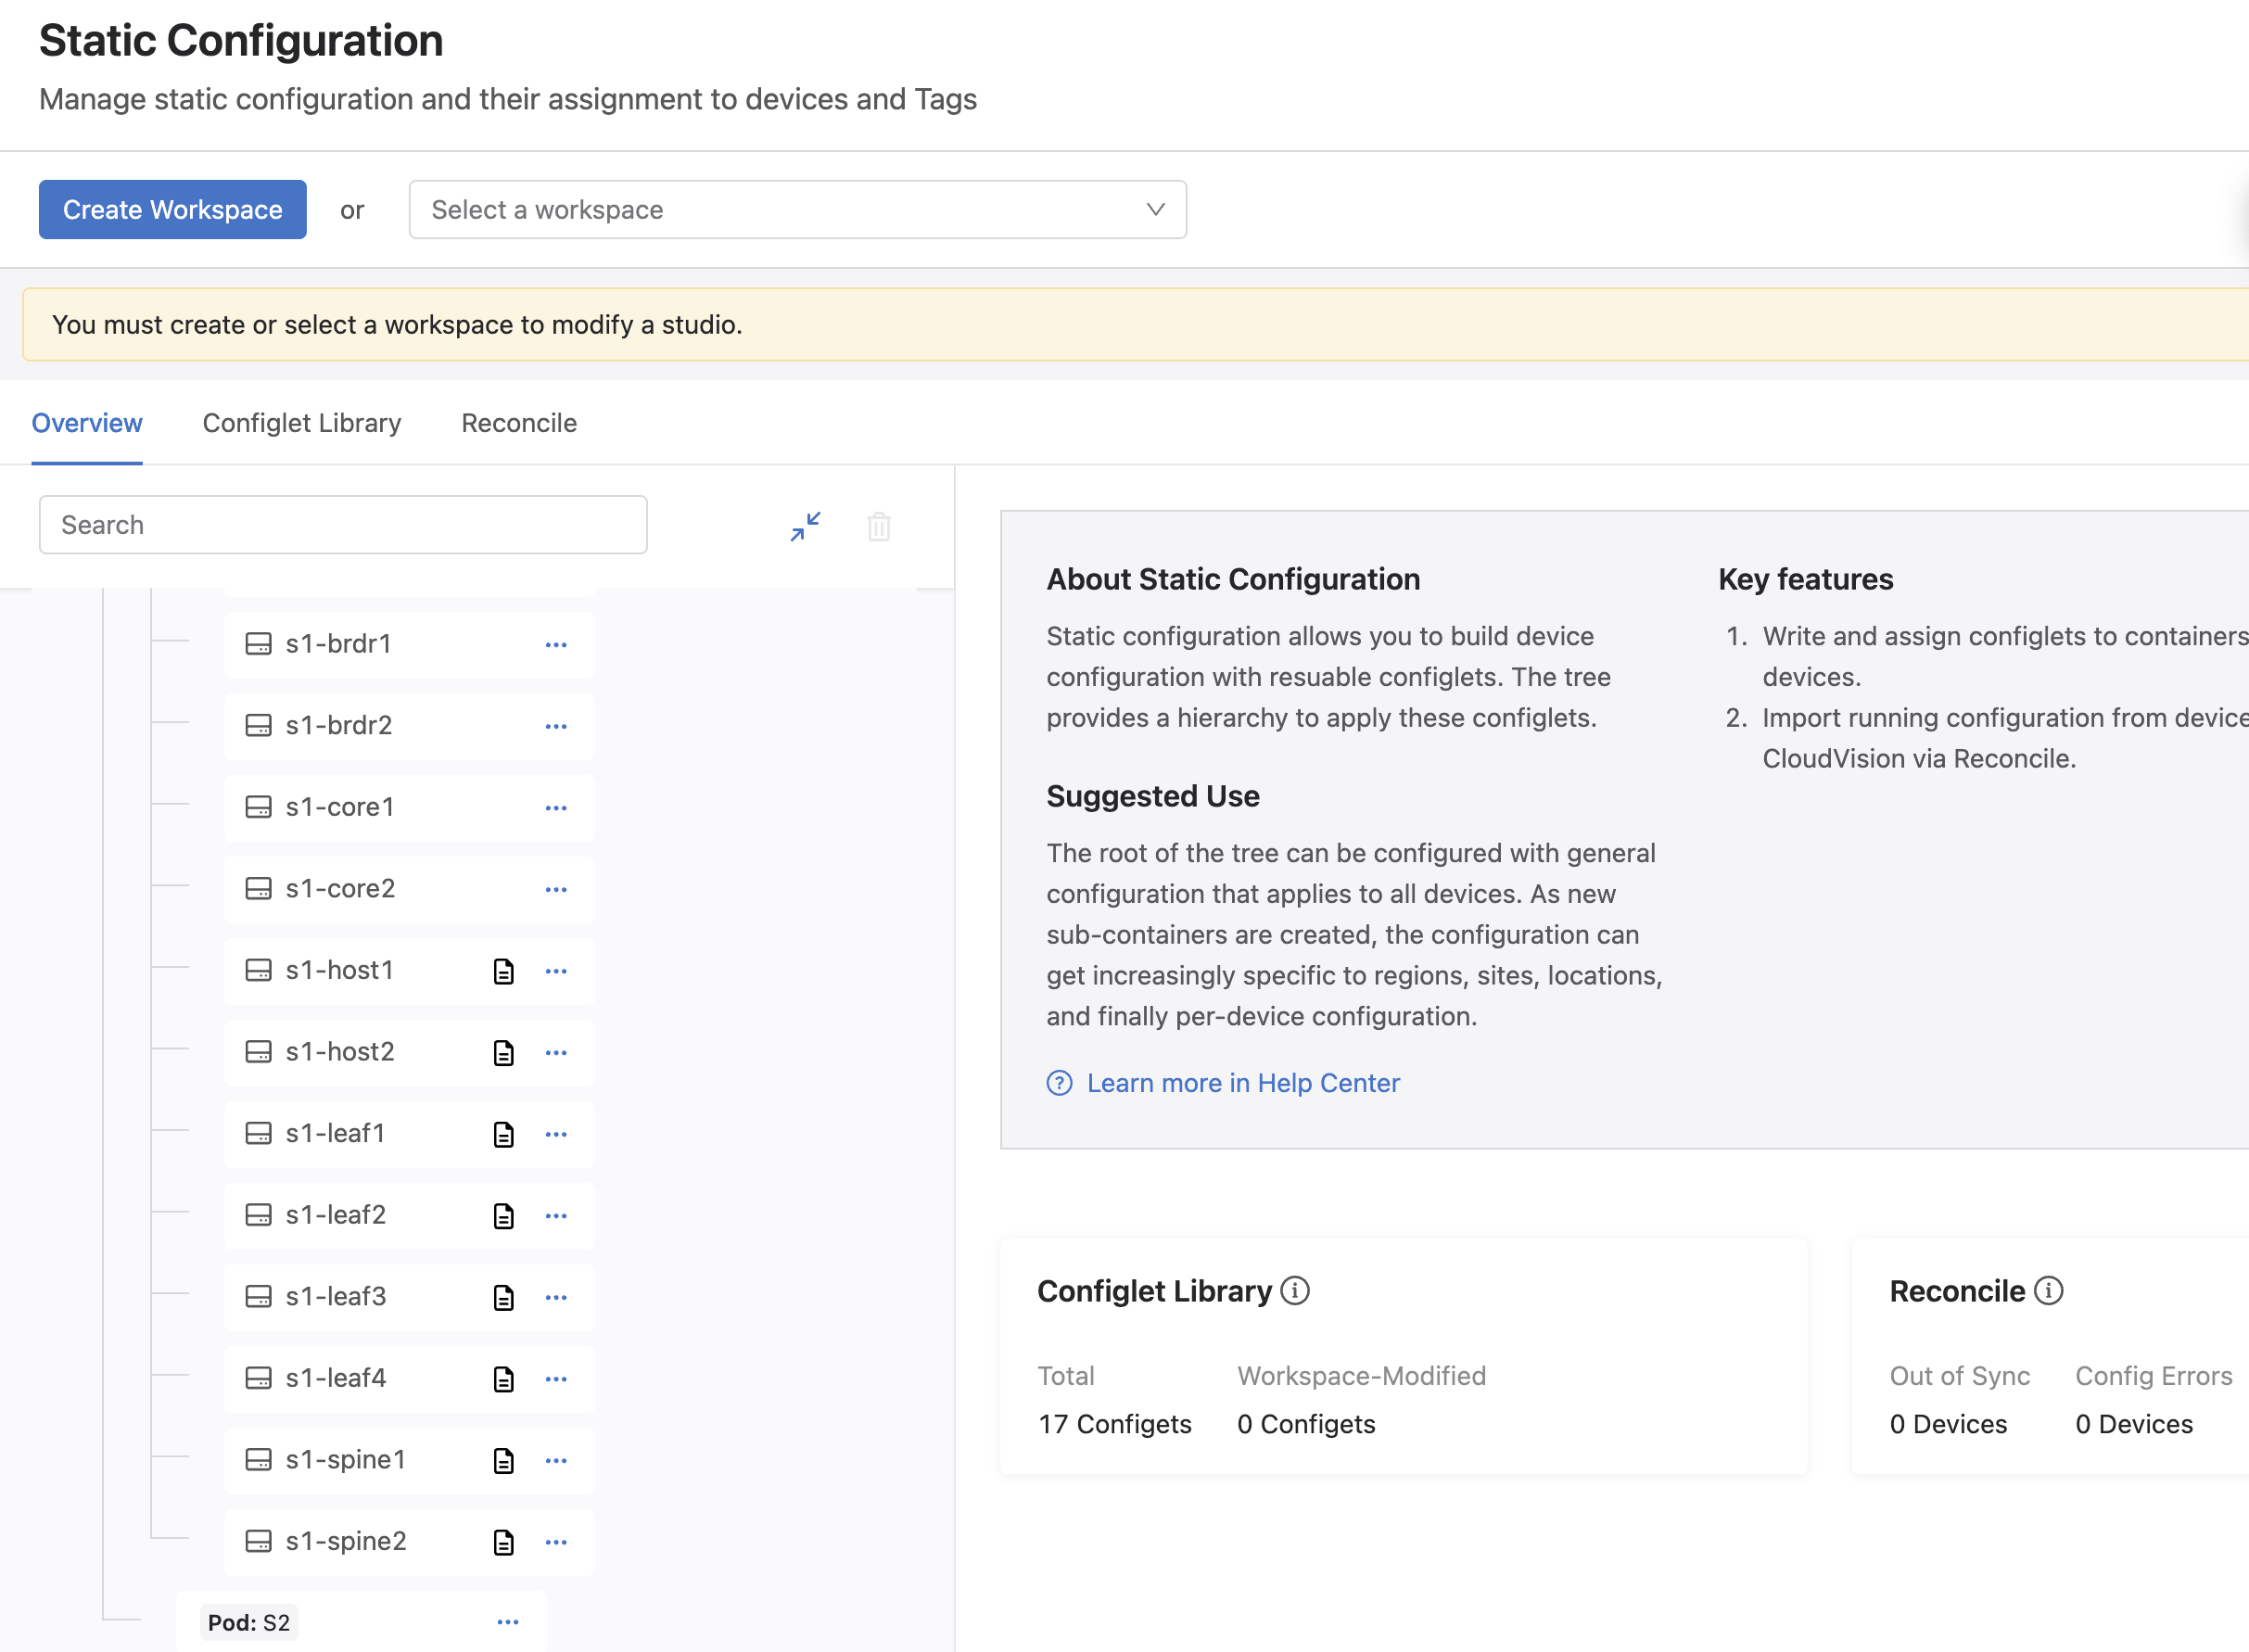
Verification
Check for icons representing configlets on devices and containers.
Part 7: Review and Submit
- On the top right of the screen, click Review Workspace
- Submit the workspace.
Important
You will notice configurations apply only to Leaf 4. This is expected because the L2LS lab was resumed at the point where Leaf 4 needed configuration, while the others had previously been configured.
Section 2: Unassigning Network Provisioning Configlets
After building or editing configurations in the Static Configuration Studio, it's important to unassign any configlets previously applied through Network Provisioning to avoid conflicts when pushing changes.
- Navigate to Provisioning → Network Provisioning
- Right-click on the device or container in the Network Provisioning view
- Select Manage → Configlet
- Uncheck the configlets you want to remove from the proposed configuration
- Click Validate for a device or Update for a container
- Click Save to apply the changes
Devices to Unassign From
-
Repeat this process for the following devices:
s1-host1,2,s1-leaf1,2,3,4,s1-spine1,2 -
s1-host1,s1-host2 s1-leaf1,s1-leaf2,s1-leaf3,s1-leaf4s1-spine1,s1-spine2
Once you validate and save the config changes in CloudVision, it will create tasks. These tasks become Change Controls that we can execute.
- Click Tasks
- Select all Assignable Tasks and click Create Change Control
- Select the Parallel arrangement to execute all changes at once
- Click the Create Change Control with [x] tasks Button
- Select Review and Approve
- Click Execute Immediately and click Approve and Execute
Once you validate and save all the config changes, Studio will create tasks based on the updated configurations.
If done right, only leaf4 should have actual config changes. If other devices show config changes in the diffs, something was missed during your migration.
Verification: If the migration was successful, only
leaf4should have a task pending. If other devices show diffs, revisit your configlet assignments and tagging.Visual Check: Look for configlet icons next to the containers and devices in Static Configuration Studio to confirm proper assignment:
Part 8: Review and Submit
- Submit your Static Configuration Studio workspace to apply the configurations.
Reminder: You may notice only Leaf 4 has pending configuration because the L2LS lab was resumed at that point. This is expected behavior.
Summary / Conclusion
You have successfully:
-
Replicated your Network Provisioning container hierarchy to Static Configuration Studios.
-
Built a logical container structure using
tags. -
Migrated configlets from Network Provisioning to Static Configuration Studios.
-
Applied configurations in a visual, tag based workspace.
-
Leveraged workspaces for controlled changes.
-
Retired your existing configuration managed by Network Provisioning.
Static Configuration Studios provides an alternative approach to managing configurations in CloudVision which is designed to be flexible, visual, and aligned with modern operational workflows. Whether used alongside or in place of traditional methods, it adds another valuable tool to your CloudVision tool-belt.